Archive
Office 365 – Clean up your AD with IdFix before Migrating
There is a handy tool from Microsoft called IdFix, which helps you clean up your On-Premises Active Directory (AD) before you synchronise or migrate it to Office 365 i.e. into the cloud. IdFix will cleverly identify errors such as duplicates and formatting problems in your On-Premises Active Directory before you begin the migration to Office 365. I recommend you run this as a prerequisite step before you start your migration to Office 365.
You can download the tool directly from Microsoft: IdFix DirSync Error Remediation Tool. I have put a copy of this for future purposes here.
The Guide
Before I get any further, I would like to mention that you also get a guide with the tool download. It is called the IdFix – Directory Error Remediation Guide. You can download version 1.07 of the guide directly from here. Therefore I won’t mention the software and hardware requirements of the tool, I recommend you read the guide for this information. The tool is aimed at IT Administrators.
Using IdFix
Once you launch the tool (I am currently using version 1.07), IdFix will search your On-Premises Active Directory for any objects which do not conform to Office 365.
After IdFix completes the query, you will get an object count in the status bar at the bottom, as shown below.
Like my example, if there are no errors in your directory (cool, I’m good to go), you can go ahead and synchronise your On-Premises Active Directory with Office 365. If there are errors in your directory, it is recommended that you go through each one and fix them before you synchronise to Office 365. You can fix them directory into your On-Premises Active Directory first and then do another query in IdFix to see your issue has gone. It’s not mandatory to fix the errors before migrating to Office 365, but I would recommend you do. This allows for your Office 365 tenant to be a clean one from day 1. If you are to fix an error, you will need to agree with the suggested change in the UPDATE column (check this to see what the issue is first), and then in the ACTION column select what you want IdFix to do to implement the change and then click Apply. Note: Once you hit Apply, IdFix will update your Active Directory immediately. So make sure you are aware of what changes are going to take place.
The IdFix – Directory Error Remediation Guide has the following ACTION options documented. These are available from the ACTION drop down list:
·COMPLETE – The original value is acceptable and should not be changed despite being identified as being in an error state. For example, two users may have a proxy Address identified as duplicate. Only one can use the value for mail delivery. The user with the correct value should be marked as COMPLETE, while the other user is marked as REMOVE.
·REMOVE – The attribute value will be cleared from the source object. In the case of a multi-valued attribute; e.g. proxy Addresses, only the individual value shown will be cleared.
·EDIT – The information in the UPDATE column will be used to modify the attribute value for the selected object. In many cases, a valid update value has been predetermined. In these cases, you can mark the ACTION as EDIT and go on to the next error. If the predetermined update value is not desired, you can manually input the new value.
·UNDO – This value is only shown if the user has loaded a previously saved Update file. The sole operation that can be executed is to restore the original value.
·FAIL – This value is only shown if an update value has an unknown conflict with the directory rules. In this case, you may attempt to edit the value again. It may be necessary to analyse the values in the object using ADSIEDIT.
Note: on empty ACTION – Only errors with a customer selected Action will be considered for update. To reiterate; unless a specific choice is made IdFix will not perform any operation on the error.
If you would like to know more about the tool IdFix, I suggest you read the guide first before running the tool. The guide has everything you need to know. You should find the tool straight-forward to use.
If you have any comments or feedback on the tool IdFix, I would be keen to hear them. Simply add a comment below.
Greg Olsen
YellowDuckGuy
Windows Azure – AzCopy Uploads and Downloads files for Windows Azure Blobs
An old but useful MSDN blog post on the upload and download command line utility tool, which allows Windows Azure Storage customers to upload and download files.
Read more here:
Download utility tool here:
Greg Olsen
YellowDuckGuy
Microsoft Convergence 2013–Blog 3–Opening Keynote
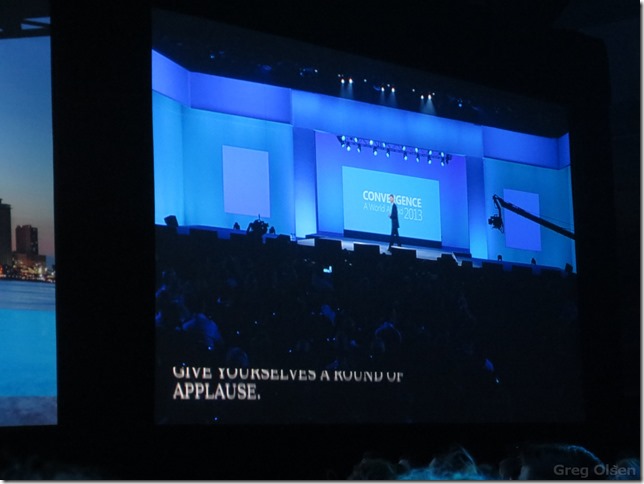
Today, Tuesday 19th March 2013, we were greeted with the Opening Keynote. This is the must attend session to kick of Convergence 2013. After taking in a good breakfast at the hotel we all headed over to get our reserved seats at the Keynote – right up the front!
Yep you read it right. 11,500 attendees to Microsoft Convergence 2013. Great turnout Microsoft. Also means 3,000+ partners in attendance.
What I will do for this blog post is post the photos in the order I took them and you can then consume the information from them. A picture is worth a thousand words .. right?
Walking into the Keynote area
Wow! that is a heap of seats. Thanks to those who had to set them all up. You deserve a beer or three.
Keynote Music
The team representing New Zealand start to fill up there reserved seats – that includes me!
Large attendance for Convergence 2013 Keynote
Speaker list for the Keynote, which included the customers sharing their experiences with the Dynamics products.
Officially announced today. Microsoft has acquired social monitoring analytics vendor Netbreeze to integrate with the Dynamics CRM platform. NAV 2013 and GP 2013 will be available in Windows Azure from June 2013.
5 Billion GBs of data is collected in 10 minutes!
Microsoft’s View: Devices and Services
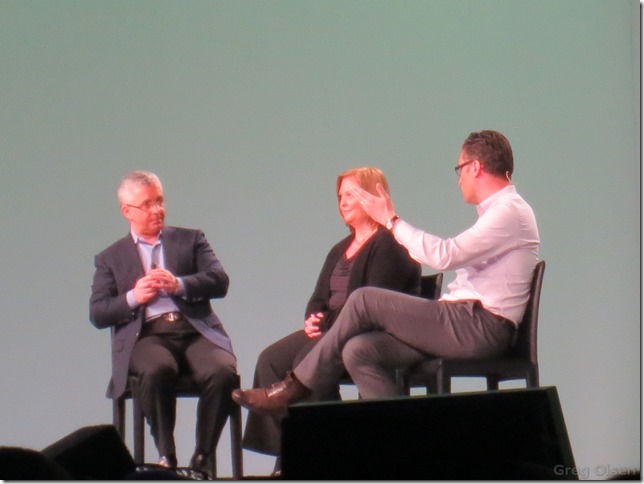
Chobani share their experiences to the attendees
Weightwatchers share their experience to the attendees
Revlon share their experiences with the attendees
Now we start to see the demo information (via photos in this blog post)
Multi-tasking apps in Windows 8. Skype call goes out to Reuben in this demo.
The CRM UI flow process
Yammer integration with CRM. “Liked by Hamish Hill” – nice one!
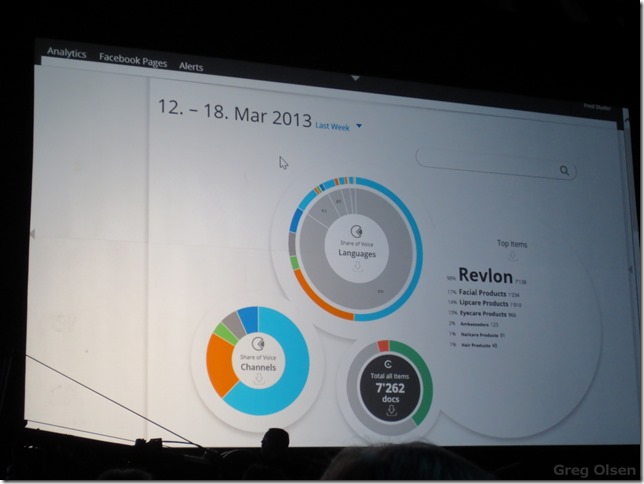
Taking the power Netbreeze. The new product coming to the CRM platform
Analytics in motion!
Social experience inside Microsoft Dynamics CRM
That concludes blog posting number 3. Hopefully the photos were helpful, especially if you couldn’t make Convergence this year.
Greg Olsen
YellowDuckGuy
Windows Azure – Dev Training 5th-6th Dec 2012
Microsoft hosted two days of Windows Azure Training to allow developers and IT pros to get hands on with the presentations and lab content relating to Windows Azure. I attended the Auckland session and during this blog post I have made the material available for my reference later, so feel free to take a look and explore further.
- Windows Azure Overview [Day 1 Presentation: .pptx, 17MB]
- Windows Azure Cloud Services [Day 1 Presentation: .pptx, 900kb]
- Windows Azure Data [Day 2 Presentation: .pptx, 3.3MB]
- Service Bus, Identity [Day2 Presentation: .pptx, 7.8MB]
- Hands on Labs
To obtain the Hands on Labs, further code examples and presentations, check out the following:
- Windows Azure Training Kit (Windows Azure Training Kit – November 2012) [356.6MB]
- Note: If you do not already have a Windows Azure subscription (MSDN subscribers will automatically get one) you will need to create one. A free 90 day trial can be obtained at http://www.microsoft.com/windowsazure/free-trial/
Enjoy!
Greg Olsen
YellowDuckGuy
Microsoft Windows – I can’t PING my computer?
Today I was configuring some new virtual machines on a host server and I couldn’t PING the new computer, yet I could establish a remote desktop to it. First thing that came to mind, PING is disabled i.e. incoming ICMP Echo messages are disabled. Once I enabled ICMP Echo messages I was able to PING again. Therefore I thought I would write up this blog post to help out anyone else. If you install Windows Server 2008 R2 with Service Pack 1, you will notice PING is disabled by default. Keep that in mind.
A common step in troubleshooting network connectivity issues is to PING the IP address of the computer to which you are trying to connect. When you PING, you actually send an ICMP Echo message (also known as an ICMP Echo Request message) and get an ICMP Echo Reply message in response.
By default, Windows Firewall does not allow you to PING i.e. doesn’t allow incoming ICMP Echo messages, and therefore the computer cannot send an ICMP Echo Reply in response – no PING reply.
No PING reply will look similar to the screenshot shown below.
Note: Enabling incoming ICMP Echo messages will allow others to ping your computer. However, it also leaves your computer vulnerable to the types of attacks that use ICMP Echo messages. Therefore, it is normally recommended that you only enable the ‘Allow incoming echo request setting’ temporarily, and then disable it when you no longer need it.
To enable ICMP Echo messages, create a new inbound custom rule to allow ICMPv4 and ICMPv6 Echo Request packets. I will give you instructions on how to do that below.
Resolution (enable PING for IPv4 IP Addresses)
- Go to Start > Administrative Tools > Windows Firewall with Advanced Security
- Within the Windows Firewall with Advanced Security snap-in, click Inbound Rules in the left hand tree menu, and click New Rule in the Actions Pane on the right hand side.
- Click Custom and click Next.
- Click All programs and click Next.
- For Protocol type, select ICMPv4.
- Click Customize for Internet Control Message Protocol (ICMP) settings.
- Click Echo Request, click OK, and then click Next.
- Under Which local IP address does this rule match? and for Which remote IP address does this rule match click either Any IP address or These IP Addresses. If you click These IP addresses, specify the IP addresses and click Add, then click Next.
- Click Allow the connection, and then click Next.
- Under When does this rule apply?, click the active profile, any or all profiles (Domain, Private, Public) to which you want this rule to apply, and then click Next.
- For Name type a name for this rule (Example: Greg’s Custom Enable ICMPv4 PING Rule) and for Description an optional description. Click Finish.
Repeat steps above for ICMPv6, selecting ICMPv6 for Protocol Type instead of ICMPv4 if you are using IPv6 addresses. At the time of this post, I am only using IPv4 IP addresses.
Once the rule is enabled, you should notice a successful PING reply as shown below.
Hope that helps?
Greg Olsen
Yellow Duck Guy
CloudCamp Auckland, NZ, Feb 26th, 2010
“CloudCamp is an unconference where early adopters of Cloud Computing technologies exchange ideas. With the rapid change occurring in the industry, we need a place where we can meet to share our experiences, challenges and solutions. At CloudCamp, you are encouraged to share your thoughts in several open discussions, as we strive for the advancement of Cloud Computing. End users, IT professionals and vendors are all encouraged to participate.”
(http://www.cloudcamp.org/auckland/2010-02-26, CloudCamp 2010)
Location – The business school, Auckland University, Auckland, New Zealand
Date – 1pm, Feb 26th, 2010
Tentative Schedule:
Registration & Networking
Welcome and Thank yous
Lightning Talks (5 minutes each)
Unpanel
Begin Unconference (organize the unconference)
Unconference Session 1
Unconference Session 2
Wrap-up
Networking in conjunction with Zendesk meetup
Local organisers
Anne Bilek, enStratus
Questions? Email ben@diversity.net.nz
Greg Olsen
Yellow Duck Guy


